Asset Management
This walkthrough covers the end-to-end asset flow: creating a location, registering an asset with an RFID tag, running a scan session on the Inventory screen, saving the results, and reviewing them in Reports.
If you haven't paired a handheld reader yet, finish Reader Setup first — steps 3–4 below require a connected reader.
1. Create a location
Locations are where assets live (a room, a shelf, a truck). TrakRF supports a hierarchical tree, so you can nest "Warehouse A → Aisle 3 → Shelf B" if you want — but for your first pass, one root location is enough.
-
Open Locations from the left nav.
-
If this is a fresh organization you'll see "No locations found. Create a root location to get started."
-
Click the floating + button (bottom-right) to open the create dialog.
-
Enter a name — keep it short and human-readable ("Main Warehouse" works fine).
-
Save.
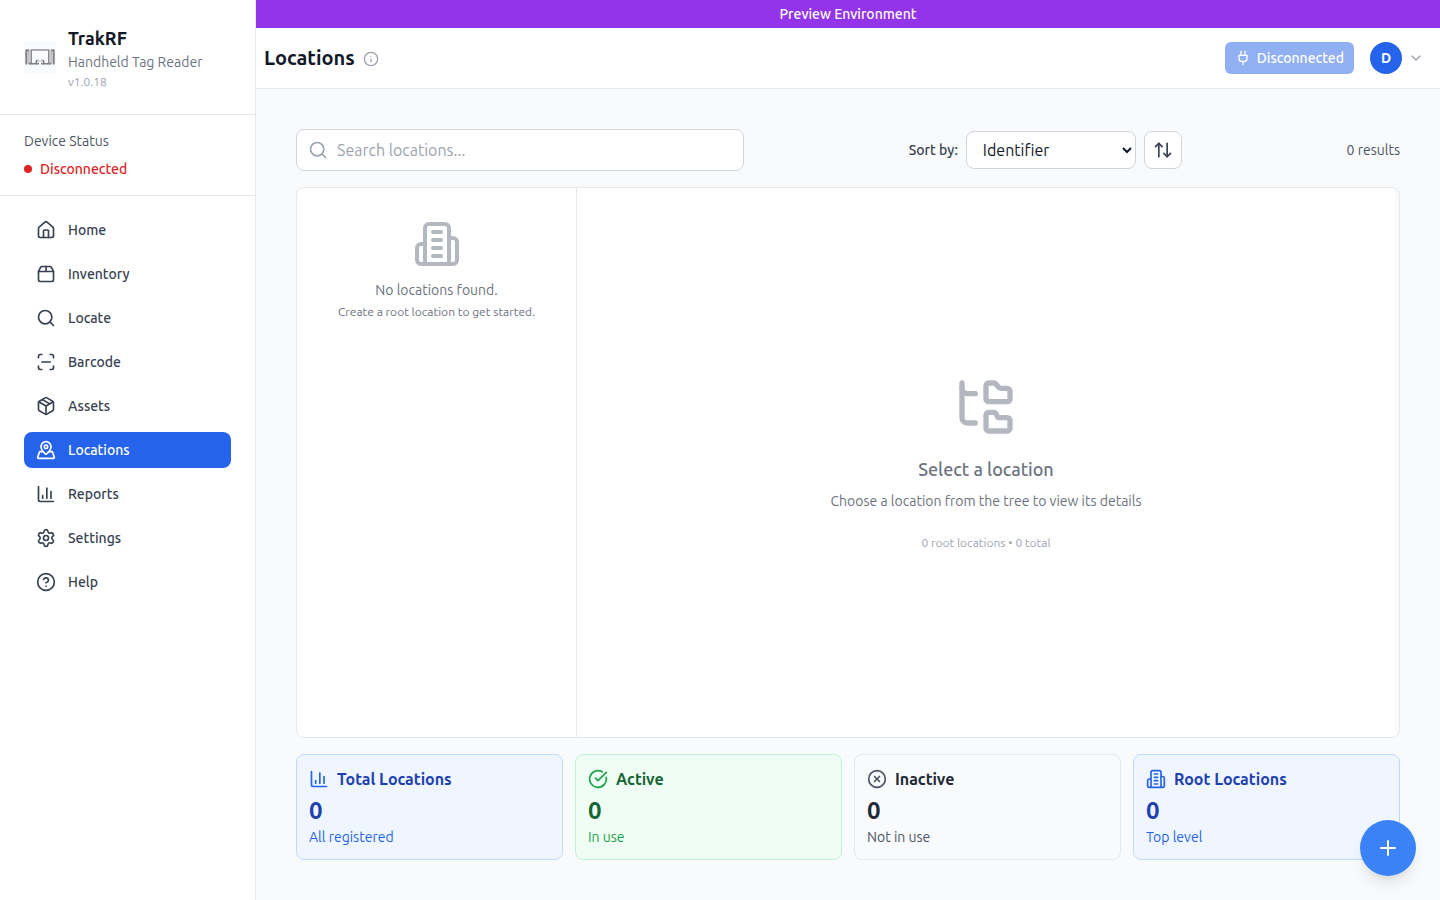
The new location shows up in the tree on the left; the right pane becomes a detail view for whichever location you select. With a few locations registered, the page looks like this:

2. Register an asset
Assets are the records TrakRF checks scans against. Each asset has at least one RFID tag number (EPC), plus optional metadata — name, description, home location, active window.
-
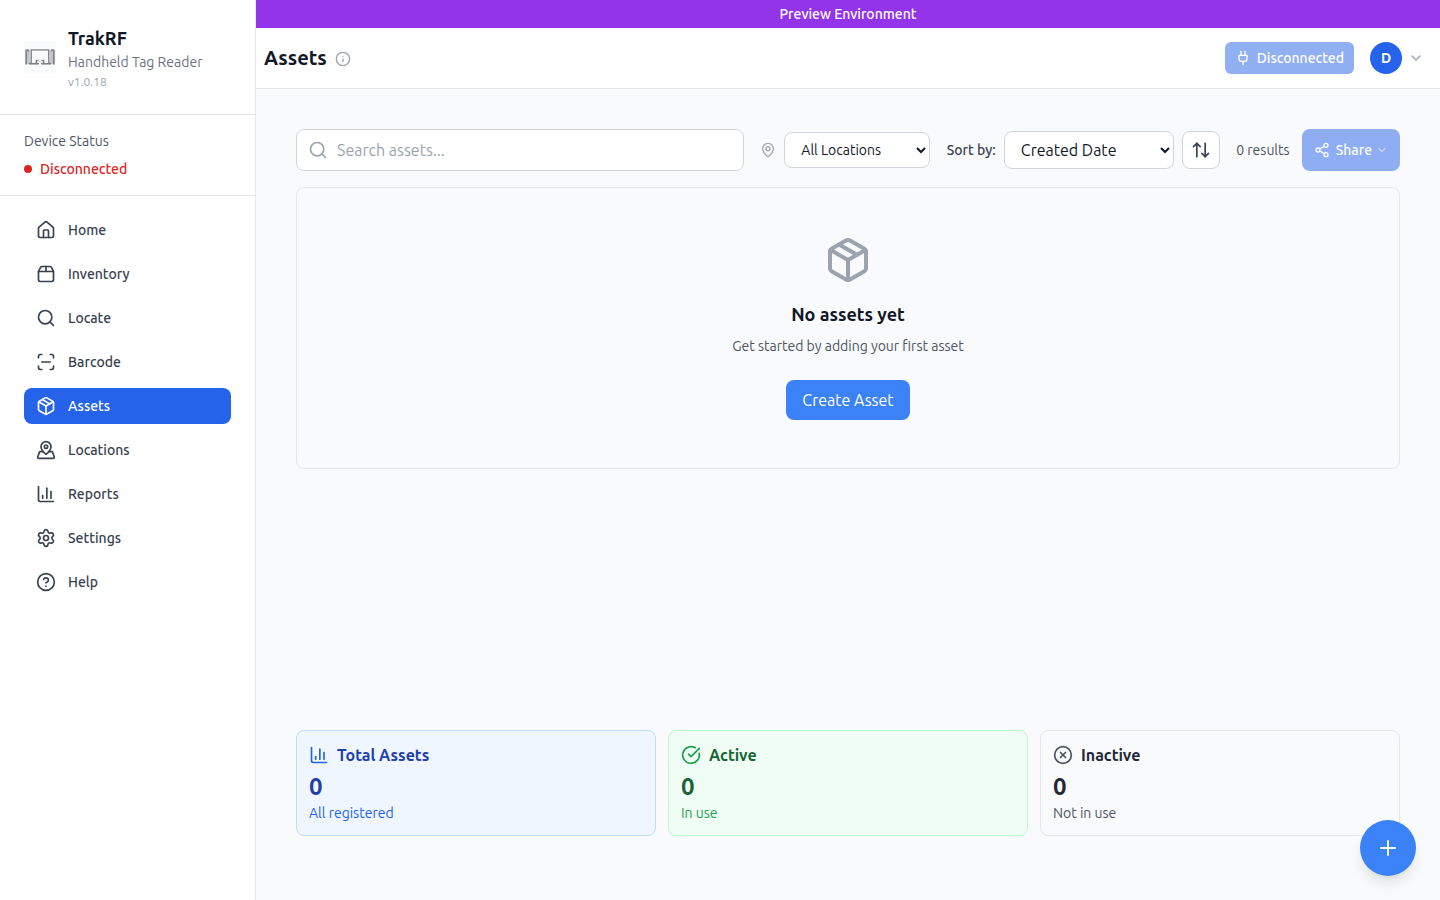
Open Assets from the left nav. On a new organization you'll see a "No assets yet" empty state with a Create Asset button.
-
Click Create Asset (in the empty-state card) or the floating + button.
-
Fill in the Create New Asset modal:
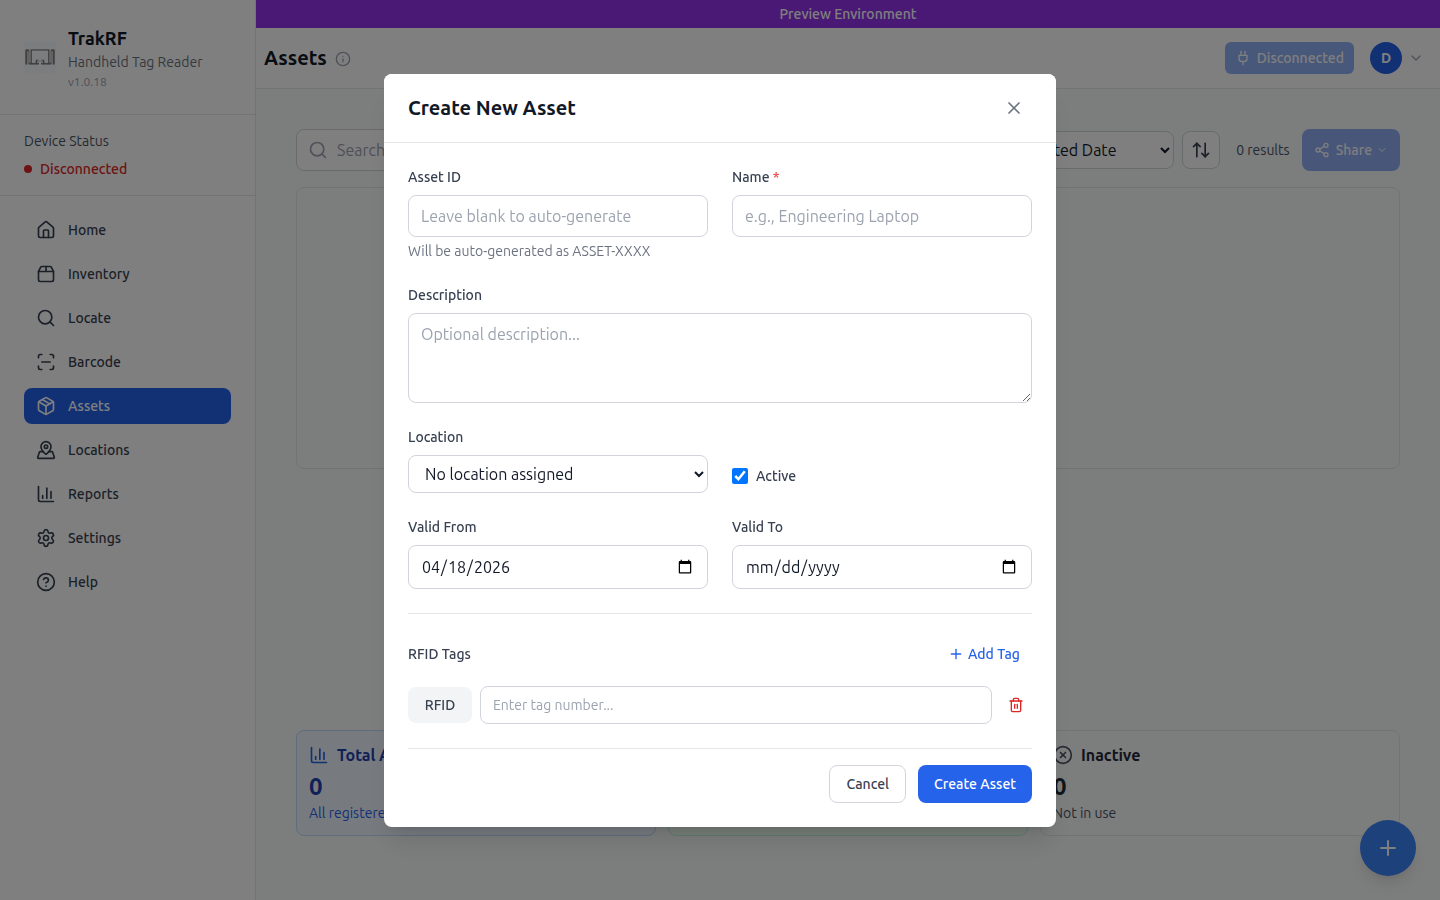
- Asset ID — leave blank to auto-generate as
ASSET-XXXX, or type your own (e.g. a part number). - Name — required. This is what you'll see in scan results and reports.
- Description — optional free text.
- Location — pick the one you created in step 1. Leave as "No location assigned" if you want it to appear under the Unassigned filter.
- Active — checked by default. Uncheck to hide the asset from live scan comparisons without deleting it.
- Valid From / Valid To — defaults to today / blank. Use these if the asset is only in circulation for a known window.
- RFID Tags — click Add Tag and paste or type the tag's EPC (hex string). You can attach more than one tag to the same asset.
- Asset ID — leave blank to auto-generate as
-
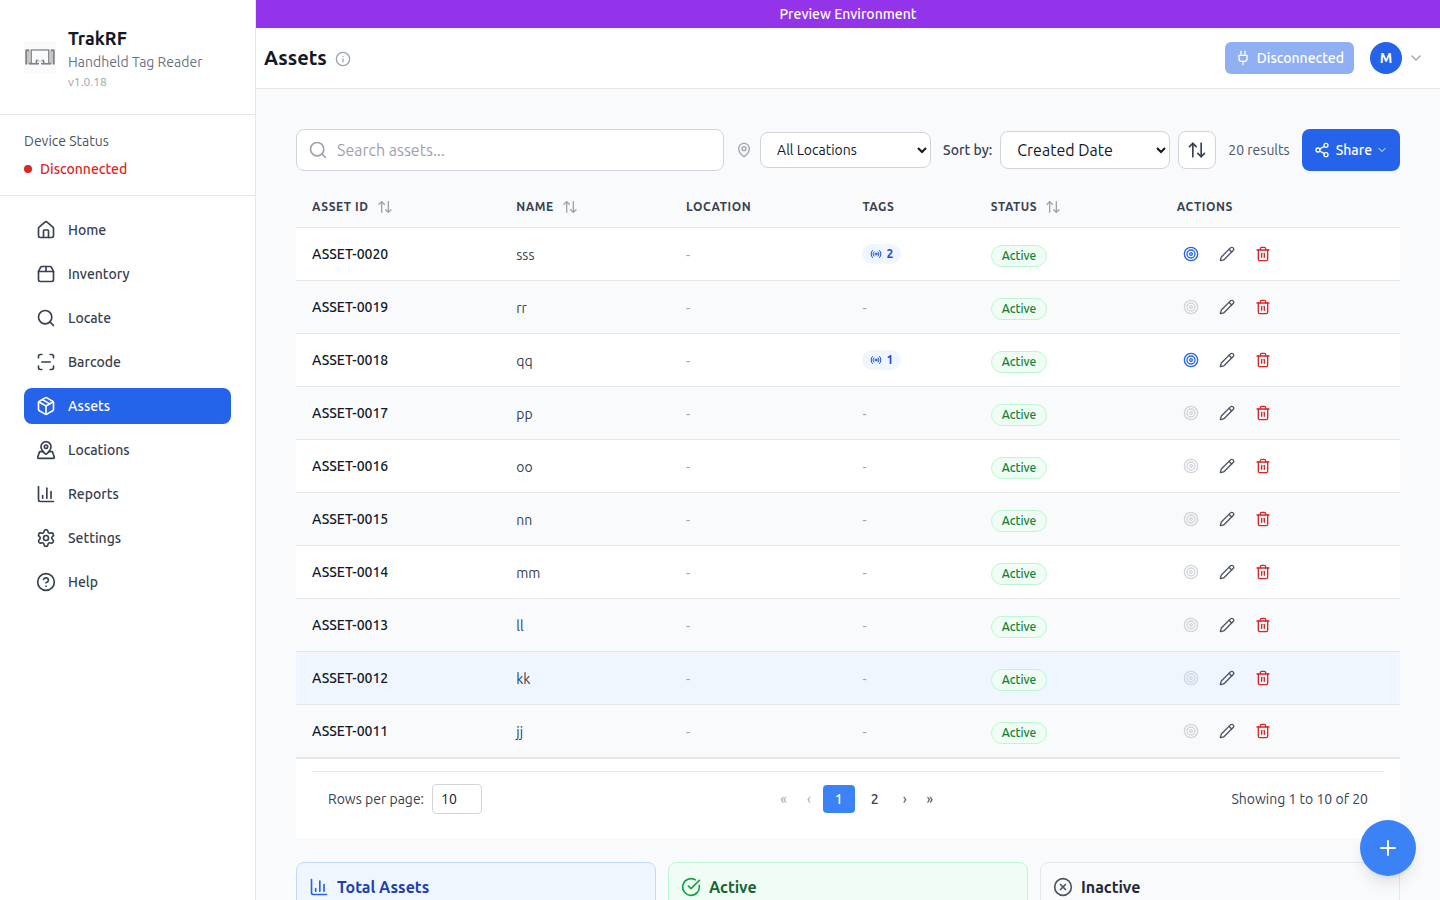
Click Create Asset.
The asset now appears in the list. The footer cards (Total Assets, Active, Inactive) update immediately. After a few assets, the list looks like this:
If you have a pile of already-tagged items and no spreadsheet of EPCs, it's often faster to scan them first (step 3) and then use Assets to attach names to the tags you captured. The scanner doesn't require an asset record to read a tag — it'll just show the raw EPC under "Not Listed" until you register it.
3. Run a scan session
With an asset registered and a reader paired (see Reader Setup), you're ready to scan.
-
Open Inventory from the left nav.
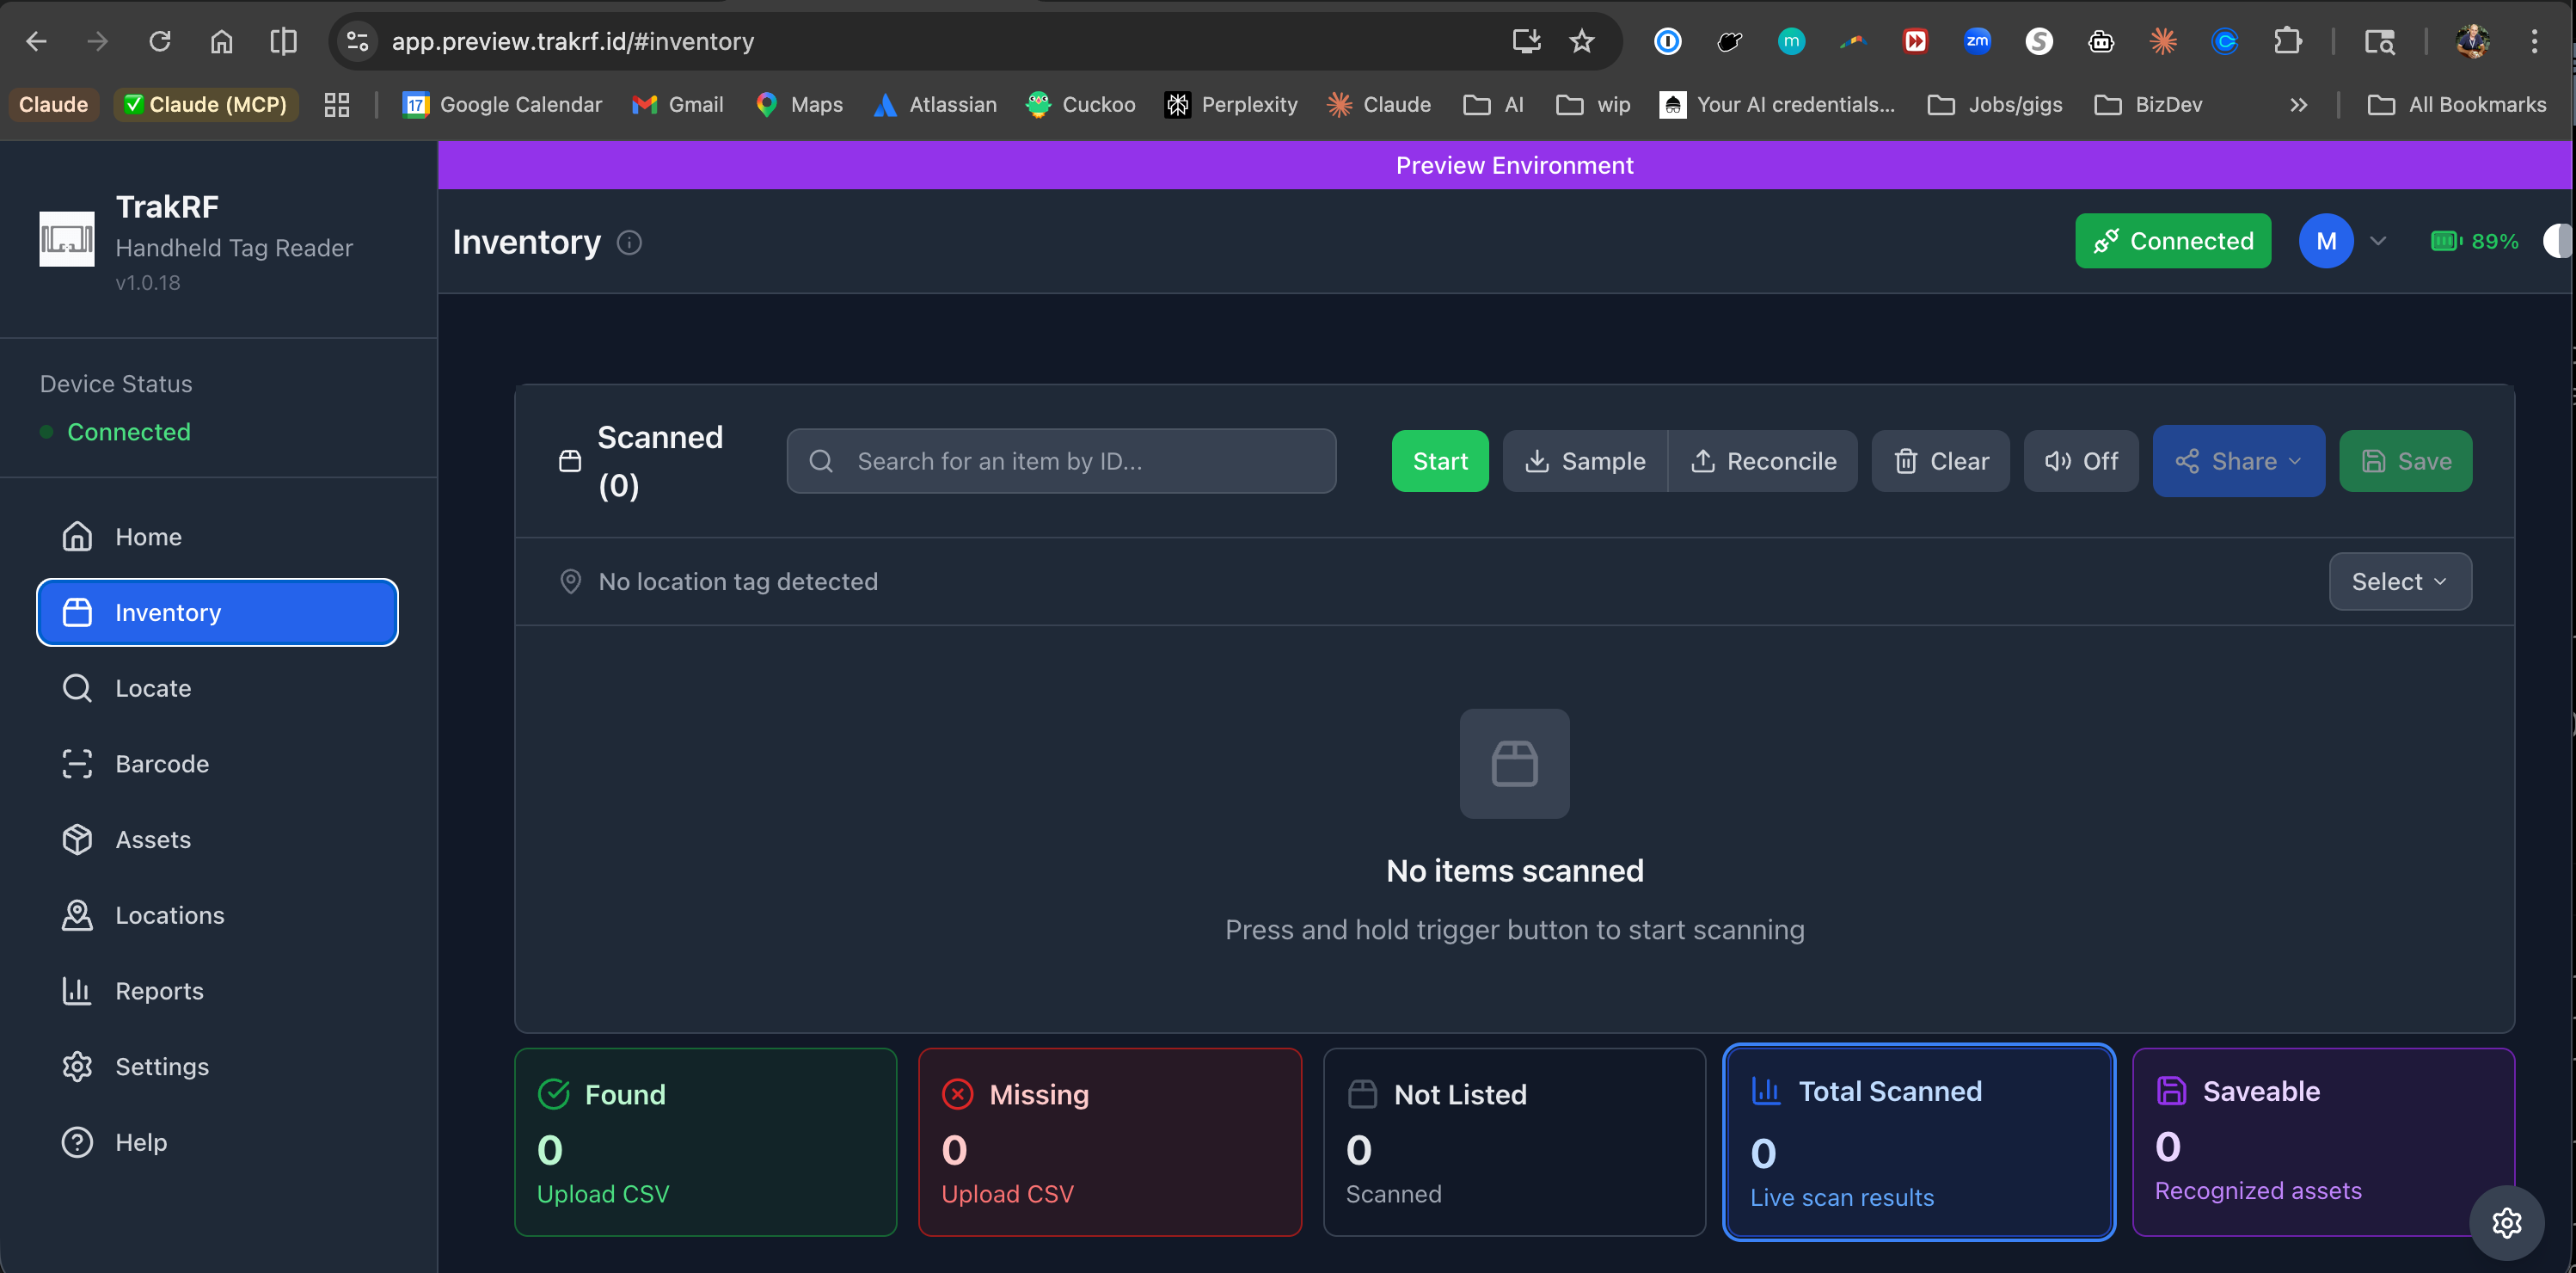
-
Confirm the device-status chip in the top-right reads Connected, not Disconnected.
- On a supported browser with no paired reader, the banner reads "Connect your device to start scanning" and the Connect Device button is live.
- On an unsupported browser (no Web BLE), the banner lists the supported browsers instead and Connect Device is disabled — see Reader Setup: browser support.
-
(Optional) Click Select under "No location tag detected" to tell TrakRF which location this scan represents. Scanning a location tag with the reader does the same thing automatically.
-
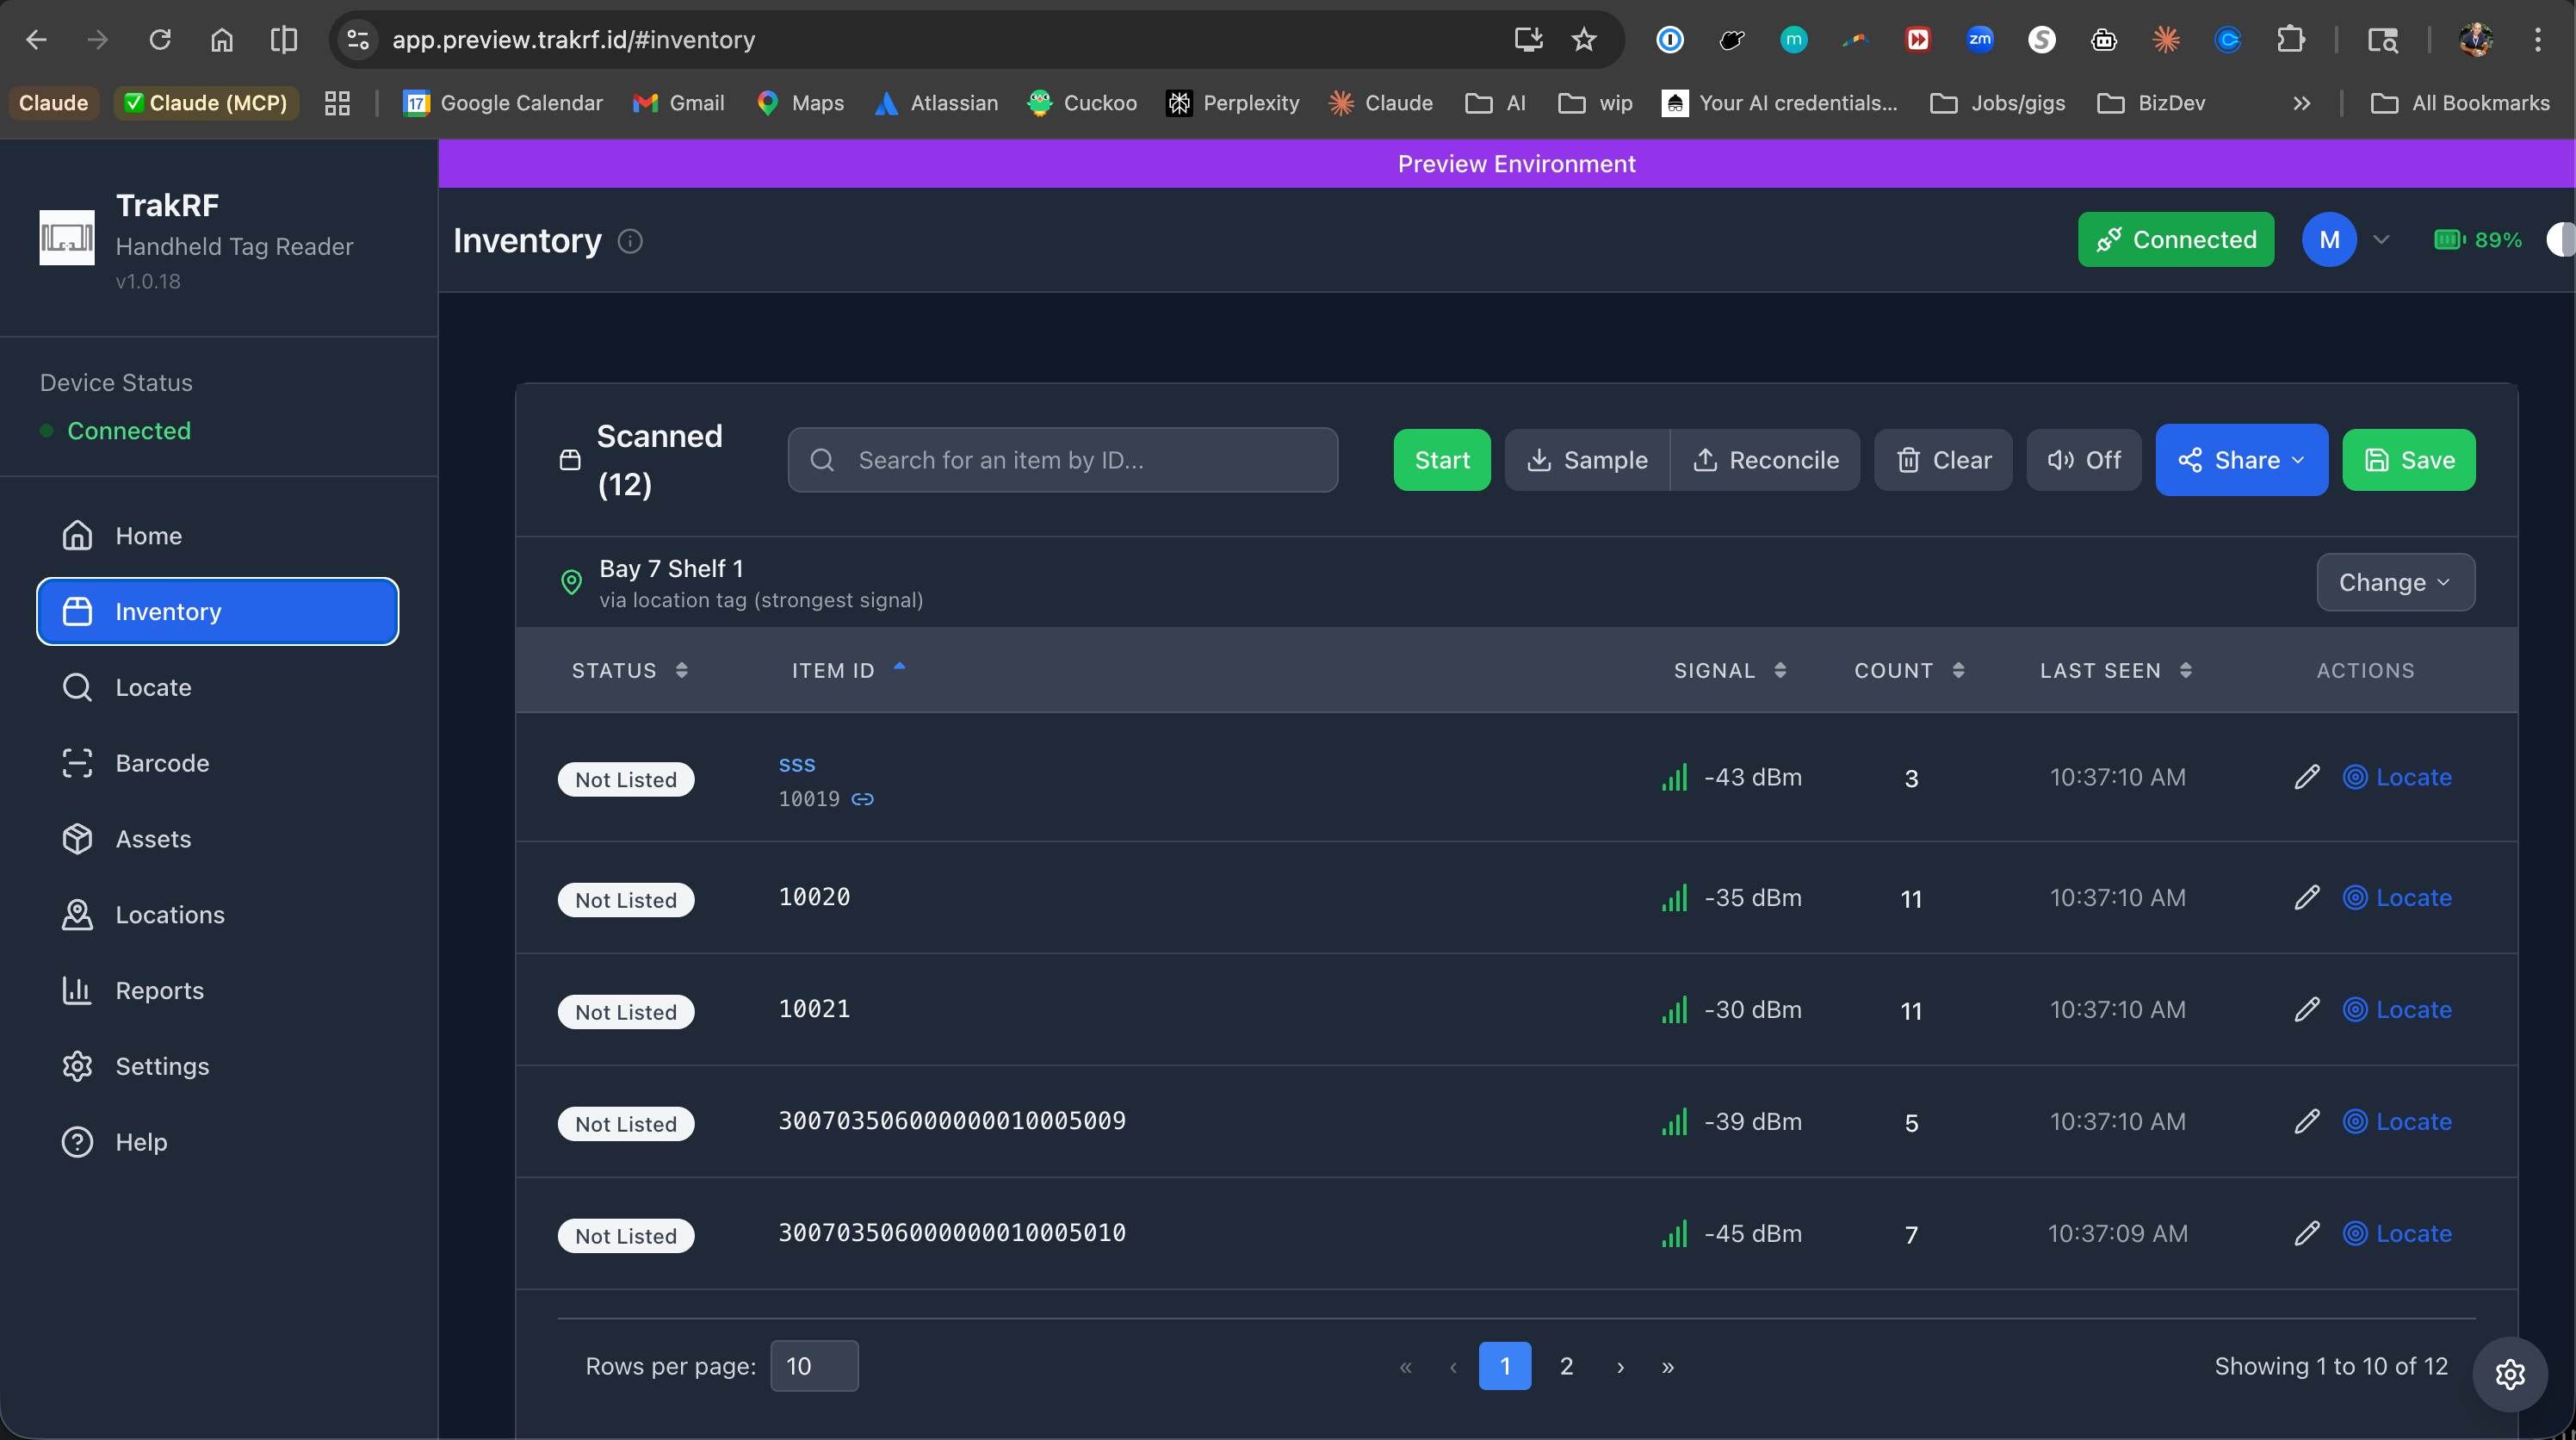
Press and hold the handheld's trigger. Tags in range stream into the Scanned list in real time. The footer cards update live:
- Found — tags that match an expected list (only populated if you've uploaded a CSV of expected tags).
- Missing — tags on the expected list that haven't been seen yet.
- Not Listed — tags seen that don't match anything expected.
- Total Scanned — unique EPCs seen this session.
- Saveable — of those, how many match a registered asset.
-
Release the trigger when you've covered the area. The list stays on screen; you can resume by pressing the trigger again.
-
Use the top toolbar as needed:
- Start — software-trigger equivalent of holding the hardware trigger; handy for bench testing or when you want hands-free scanning.
- Sample — shorter burst; useful for spot checks.
- Reconcile — marks the current scan as a reconciliation against an expected list.
- Clear — wipes the in-progress list without saving.
- Off / On — audio feedback toggle.
4. Save the session
Once the scan looks right, click Save in the top toolbar. This commits the session to history and attaches it to the selected location. The Share button next to Save generates a link you can send to a teammate — useful for handing off a cycle count or flagging discrepancies.
Saving is what promotes a scan from "live on my screen" to "part of the audit trail." Reports and asset history only reflect saved sessions.
5. Review in Reports
-
Open Reports from the left nav.
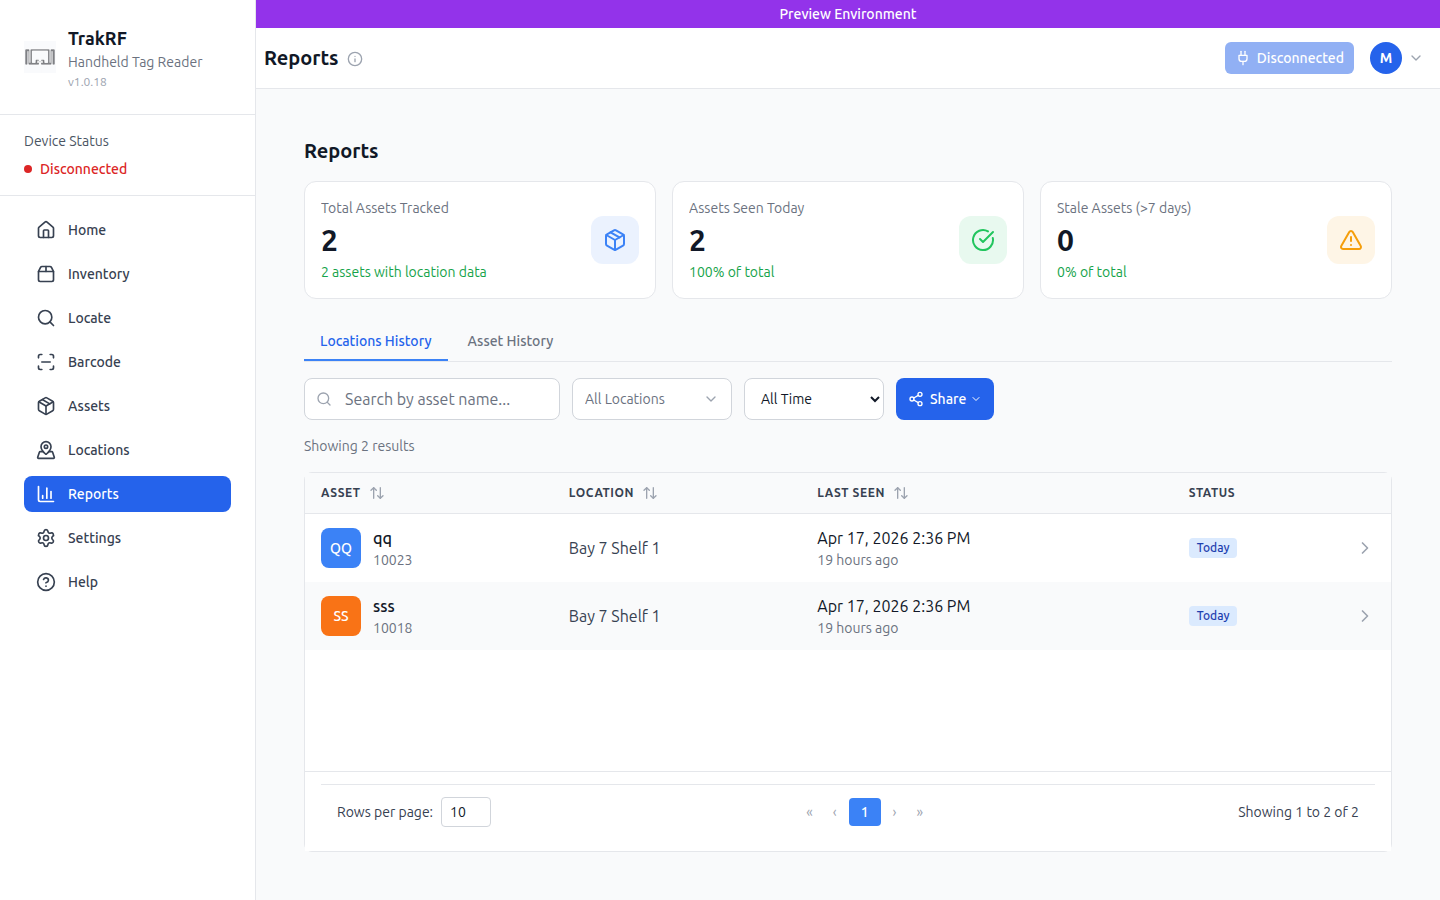
-
The top stat cards show Total Assets Tracked, Assets Seen Today, and Stale Assets (> 7 days) — a quick-read summary of your catalog's recency.
-
Switch between Locations History (which locations saw which assets) and Asset History (per-asset timeline).
-
Filter by:
- Asset name (search box)
- Location (dropdown)
- Time window — All Time, Live (< 15min), Today, Last 7 days, Stale (> 7 days).
-
Click Share to hand a filtered view to a teammate.
Find a specific tag
Inventory answers "what's here?" Locate answers "where is this one?" Paste or type the EPC of the tag you're hunting for (or jump over from an asset's row action) and TrakRF turns the reader into a metal detector: a signal-strength gauge, peak/average stats, and an audio-feedback option whose pitch and beep rate both climb as you close the distance.
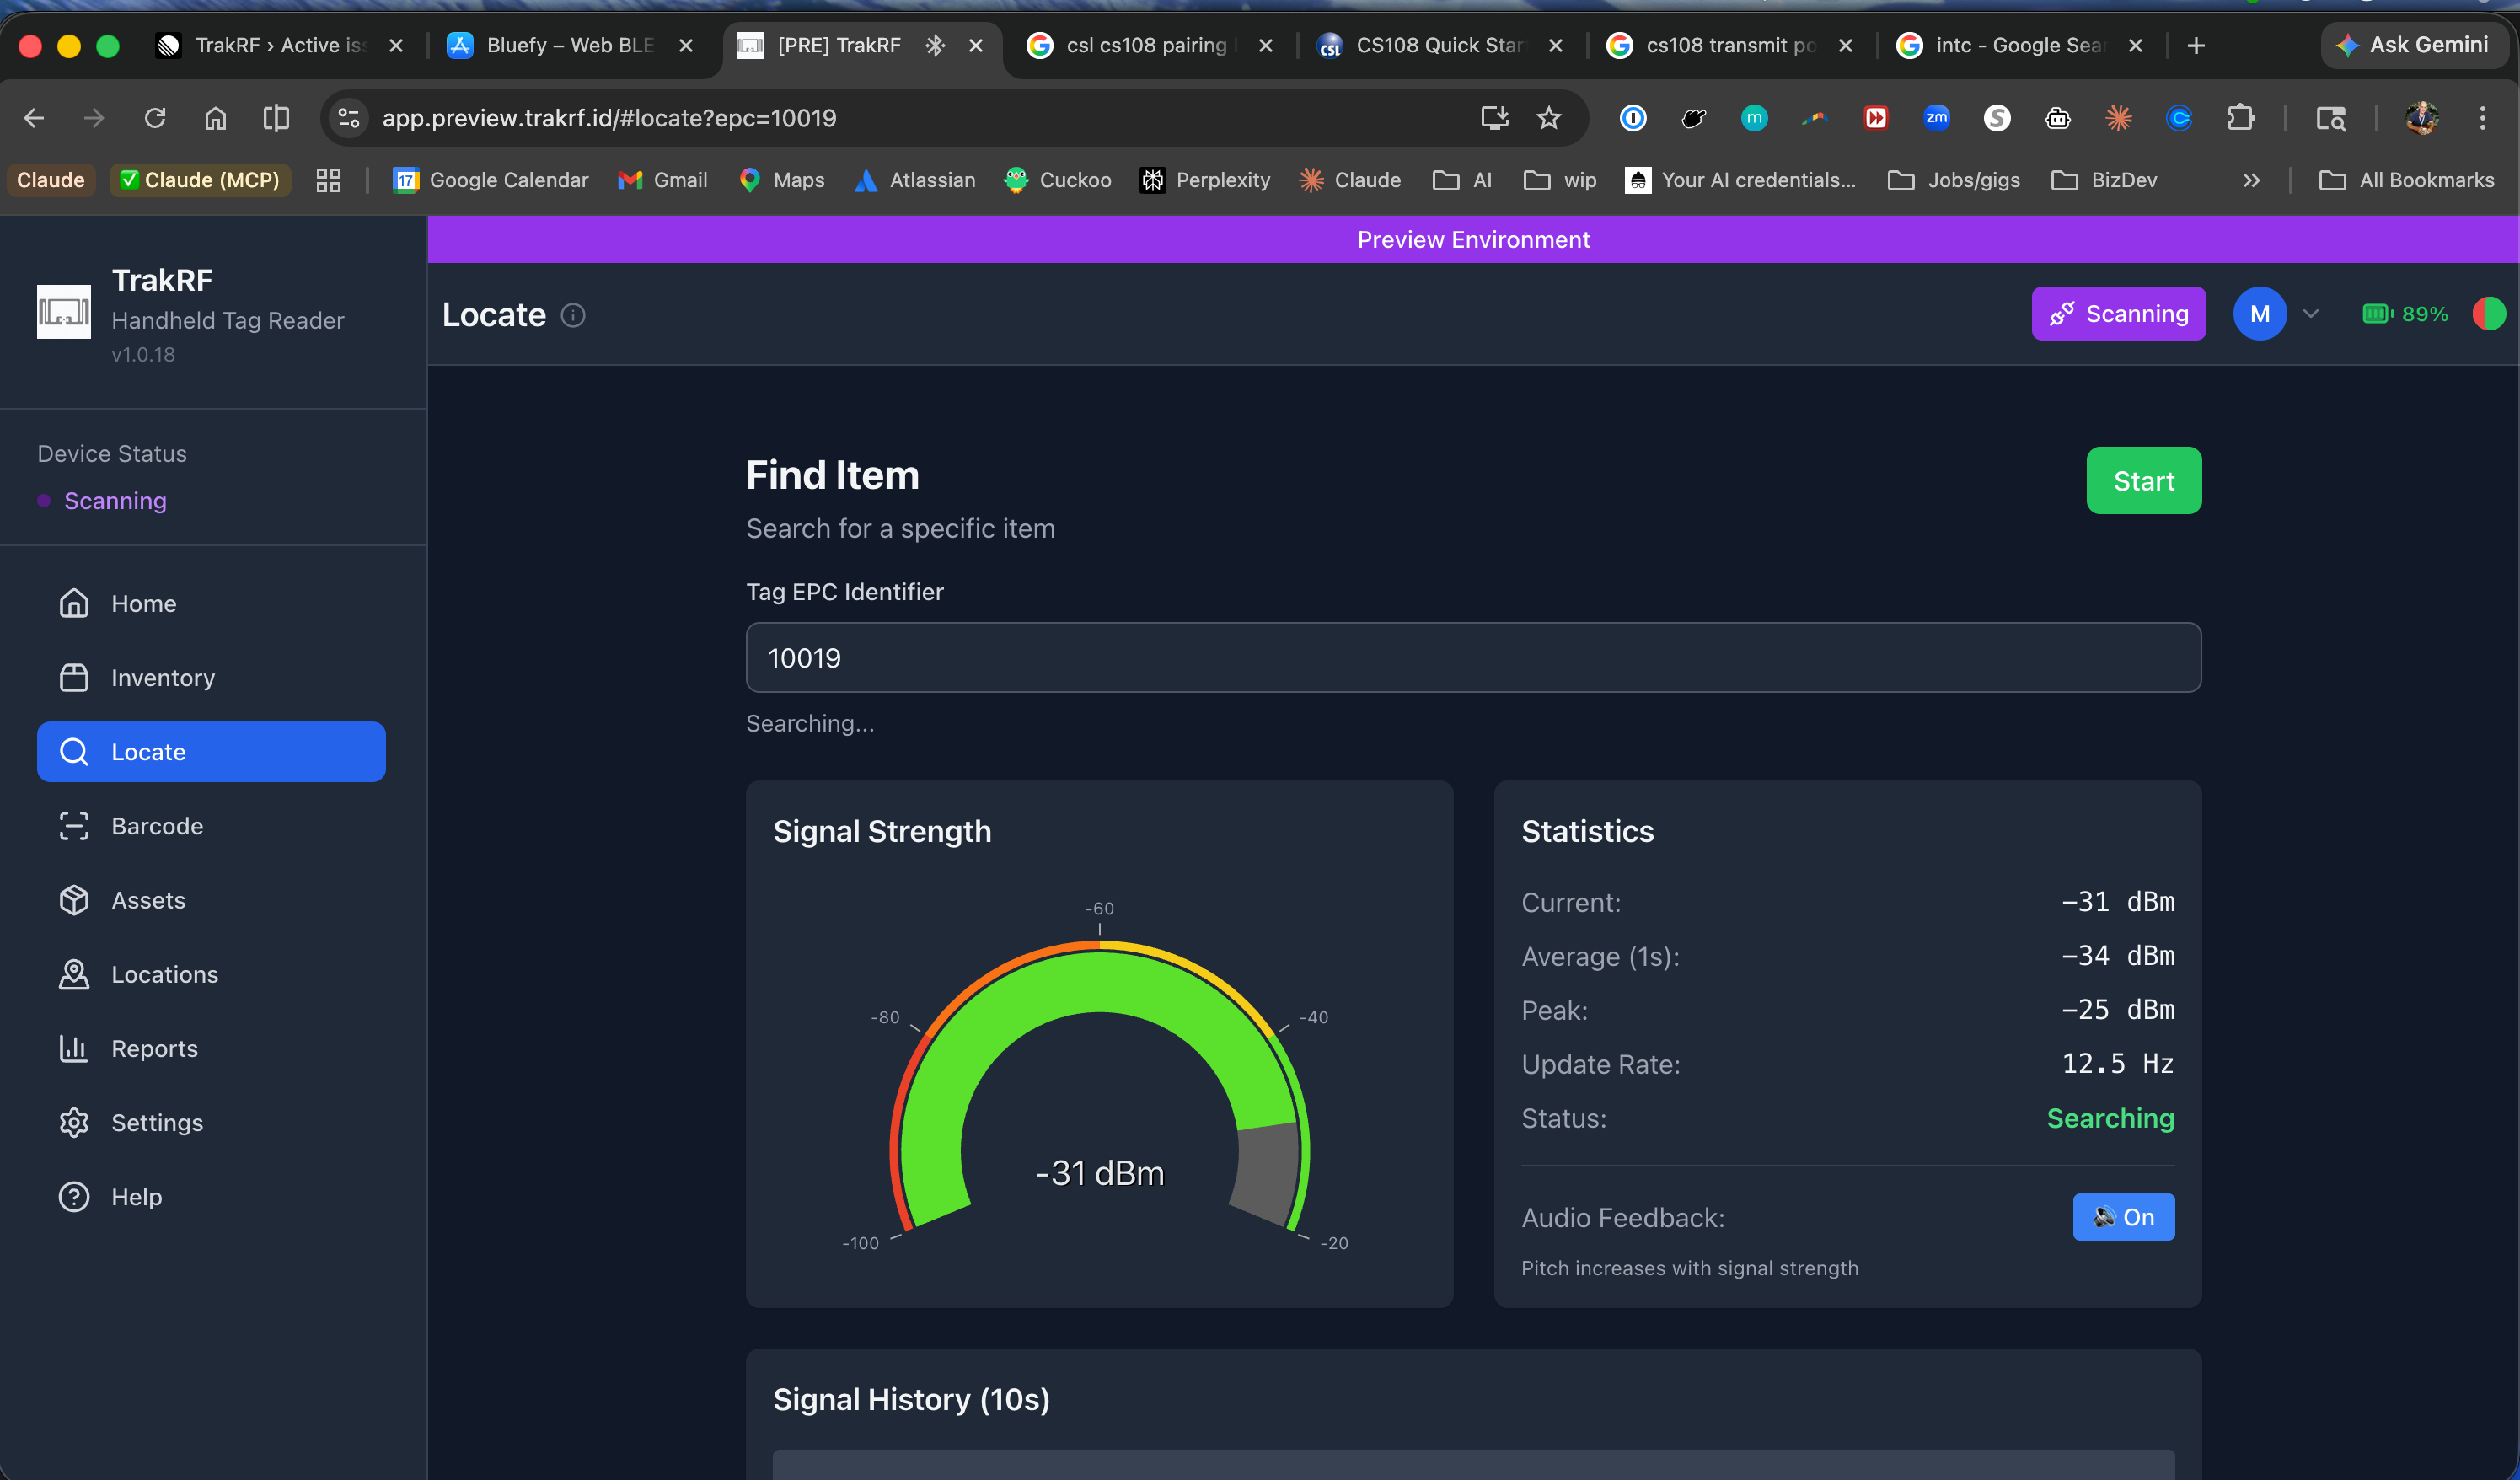
Use it for single-item retrieval after an inventory scan has flagged something as missing or misplaced.
What's next
- Location Tracking — deeper coverage of the location tree and location-tag workflows.
- Reports & Exports — pulling scan data out of TrakRF.
- App Tour — screen-by-screen reference for every page touched above.
This walkthrough describes the happy path for a single-location, single-reader setup. Multi-location workflows, CSV-driven reconciliation, and bulk tag commissioning are covered in Location Tracking and Reports & Exports — flesh those out as needed.